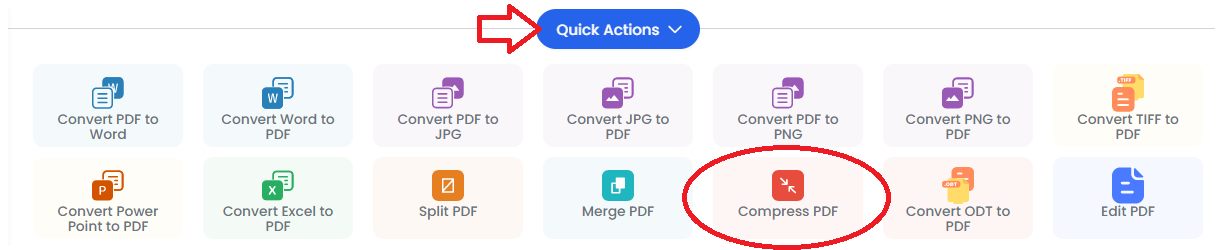
What would you like to achieve today?
How to use PDFSimpli


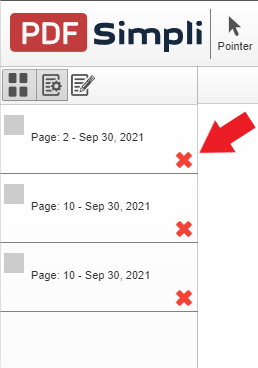

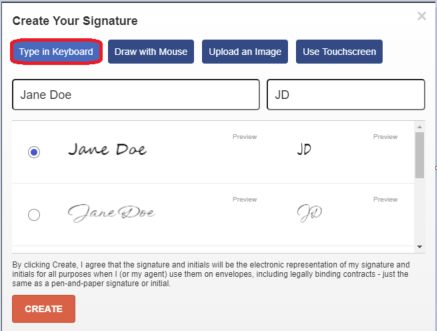
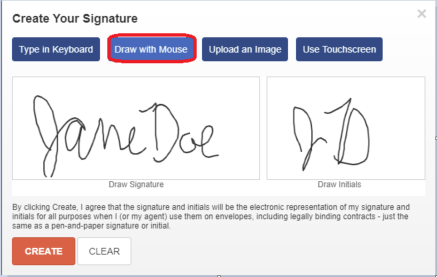
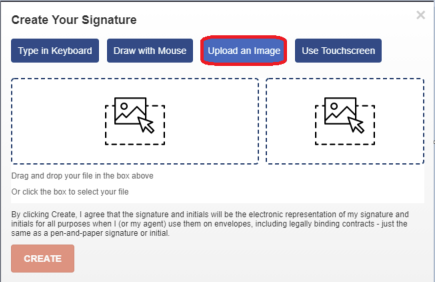
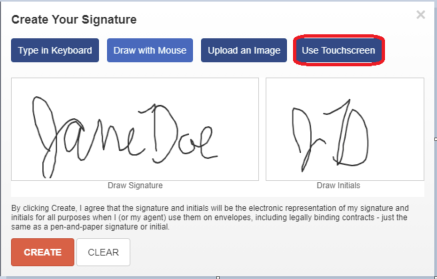
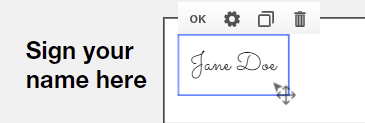
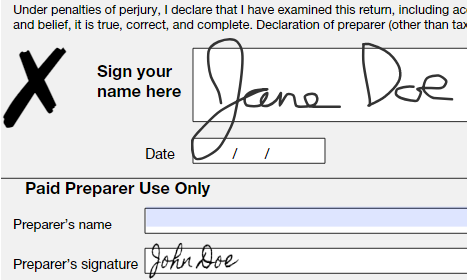
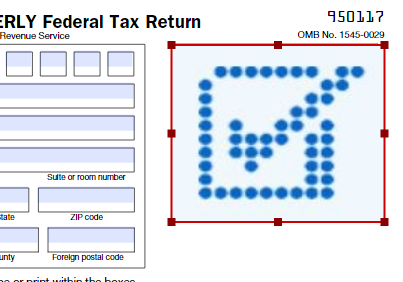
Note:You can resize the size of the Signature by selecting the ‘Settings’ gear/edit icon and then adjust the size accordingly.


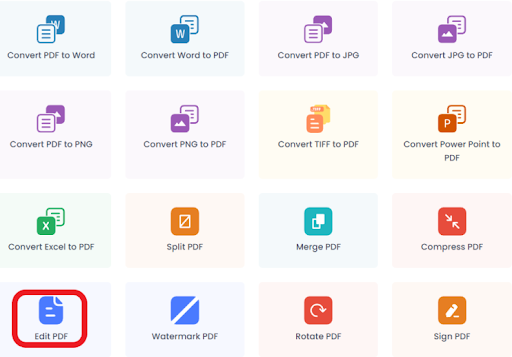
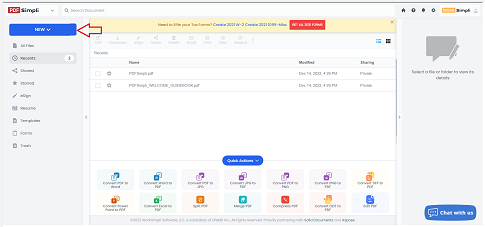
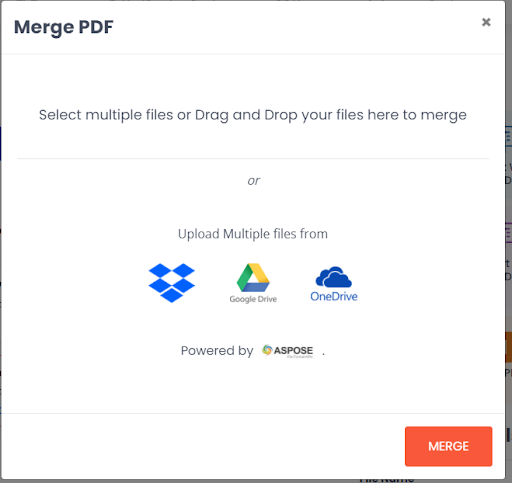
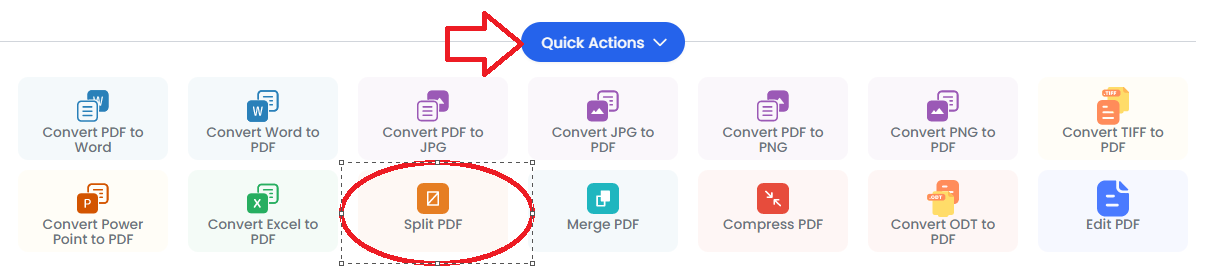
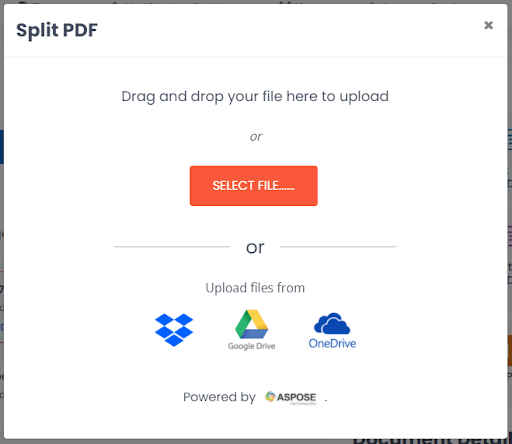
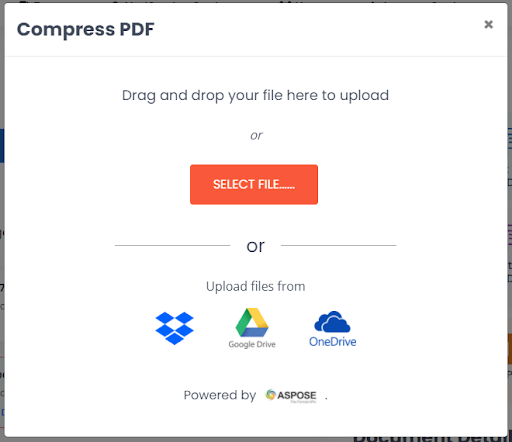
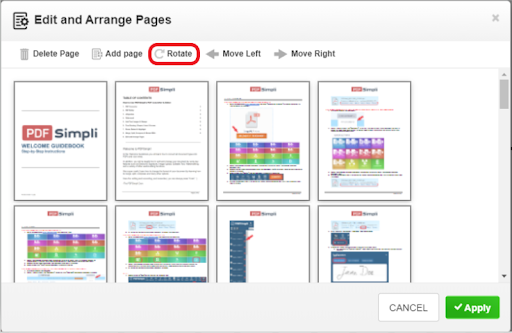
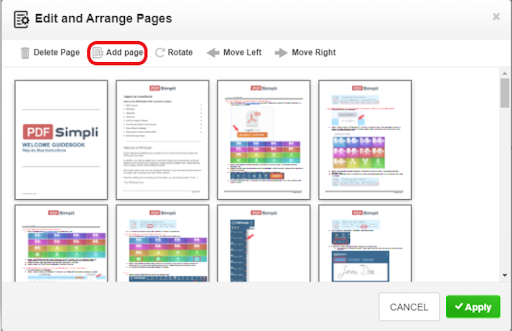
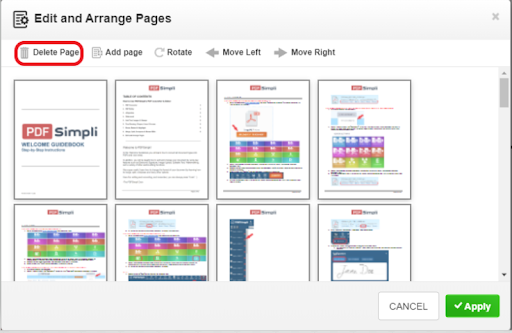
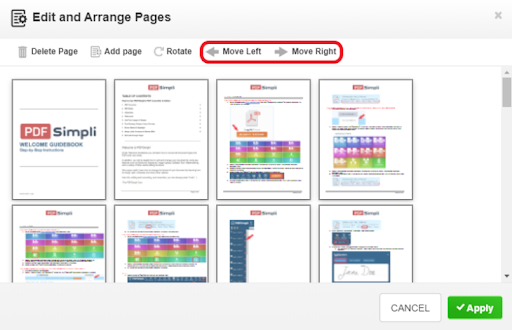
All of these features require you to convert a document type to PDF by step 1. PDF Convertor, or access your PDF by step 2. PDF Editor.

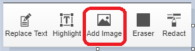
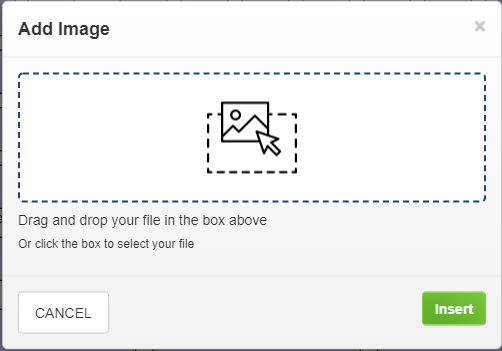
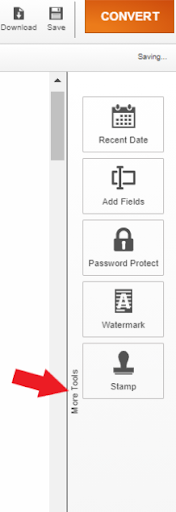
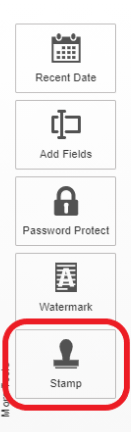
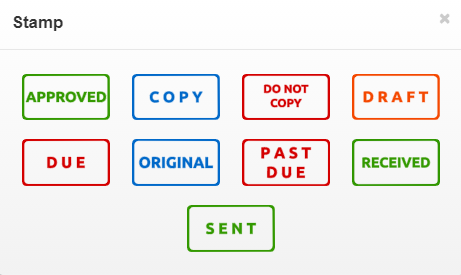
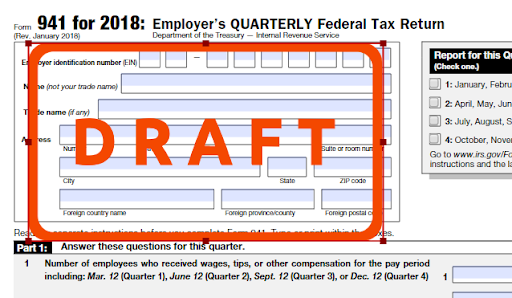
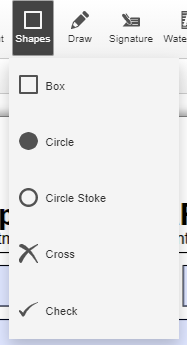
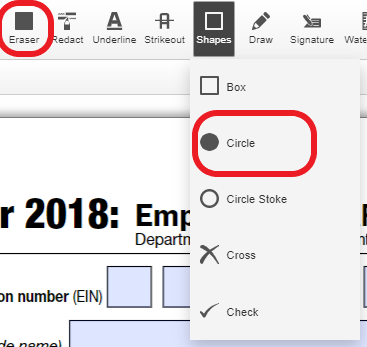
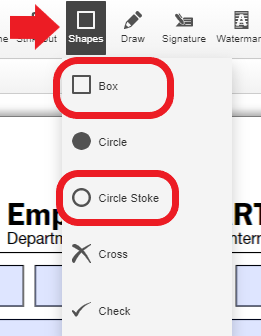
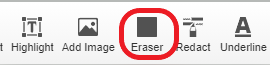
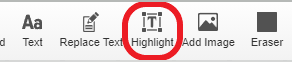
Text functions include Adding Text, Text Highlighting, Text Underlining, Text Strikethrough, Adding Images, Adding Shapes and Adding Stamps.


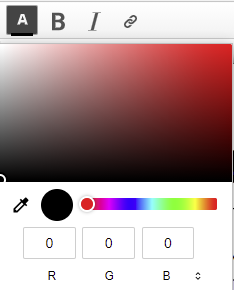

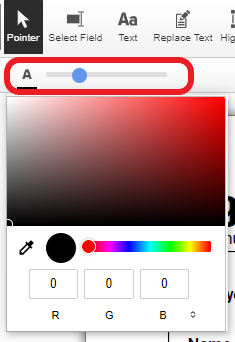
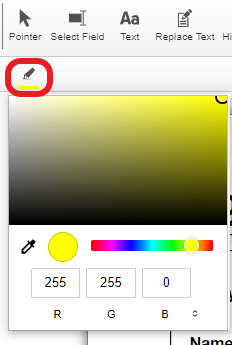
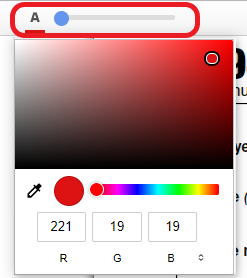
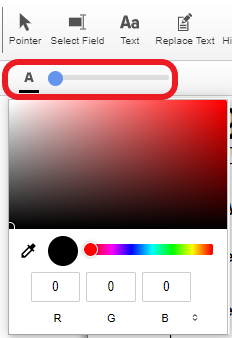
Please note: you must have the desired font color and background chosen prior to typing your text. You will not be able to change it once you start typing.

This tool is used for selecting your desired text.


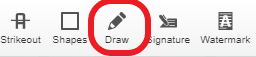
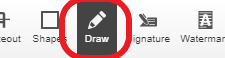
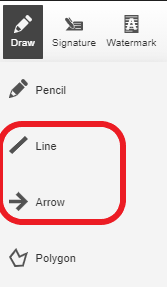
 Free draw


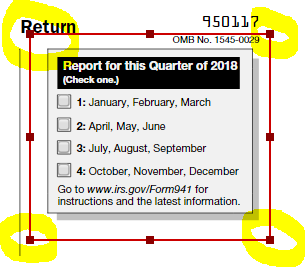
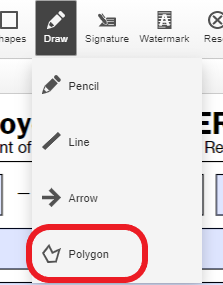
The “Polygon” icon allows you to create as many straight lines as you desire on different angles, and then closes the shape.
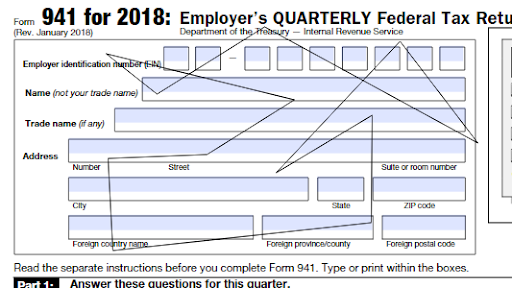

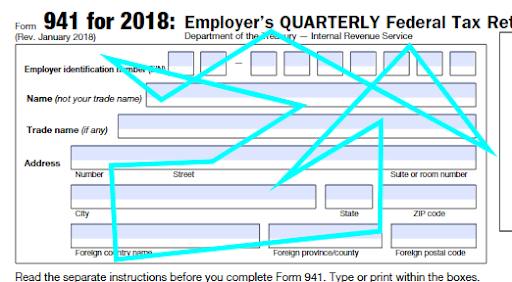

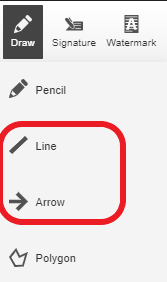
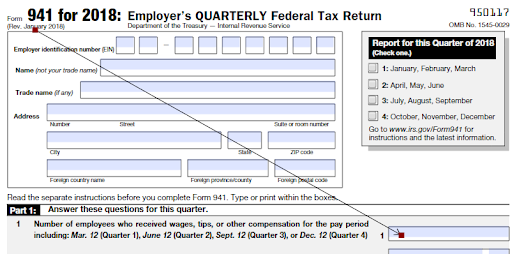
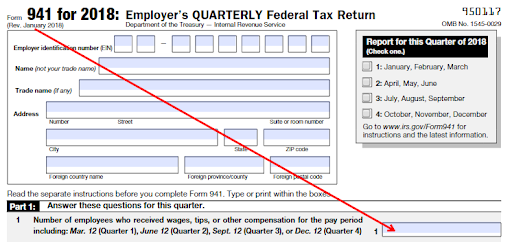
The Line and Arrow icon work identical to each other.
All of these features require you to convert a document type to PDF by step 1. PDF Convertor, or access your PDF by step 2. PDF Editor.


Select Language
© 2026 , WorkSimpli Software, LLC. All rights reserved.


